NUS暑校实验记录
把任务书和实验分析过程(部分)放在这里,以此纪念我逝去的半个暑假
有些分析过程搞丢了,找到了lab4的全尸
任务书
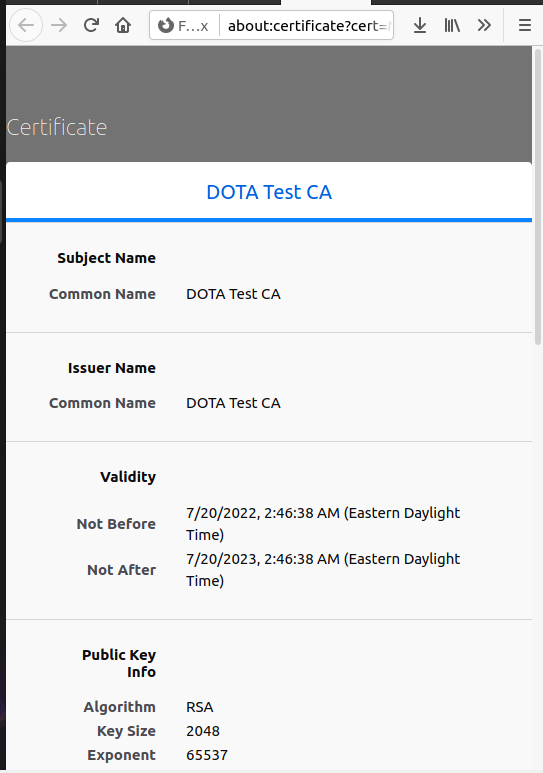
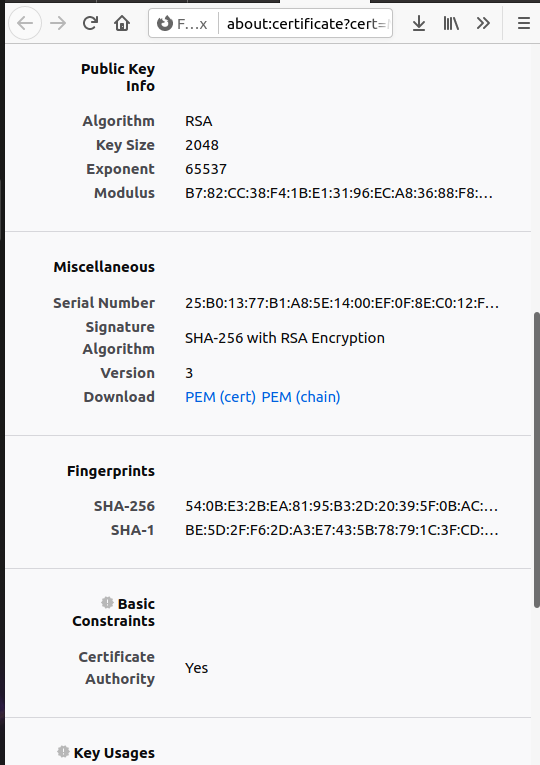
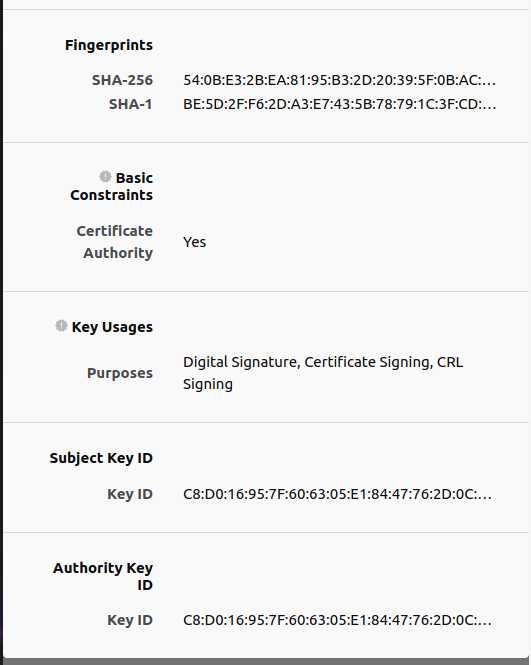
LAB 4-1 Creating a certificate authority
What is the purpose of the extra information in the (CA) certificate you created?
I don't know what means of the extra information,after I search the internet for extra information.And I found this answer :A digital certificate usually contains:
public key;
holder information;
Information about the Certificate Authority (CA);
The CA's digital signature of this document and the algorithm used;
certificate validity period;
the extra information;
According to the above information and the testCA.crt,I think the extra information are fingerprints in testCA.crt.And it is used to authenticate the identity and determine whether the document has been tampered with
Explain the files you created. What is each file used for?
In the experiment, we mainly do two things:
1.Use openssl to create a root certificate
2.create the certificate for the server

On step 1:
localhost.cnf:Store some configuration files for simplifying parameters
testCA.key:private key file
testCA.crt:Credential crt file
On step 2:
localhost.key:key for the server
localhost.csr:certificate signing request csr file for the client key
localhost.crt:Use the key of the CA certificate to sign the client key and generate a signature file
testCA.srl:Record the serial number of the certificate generated by the current CA
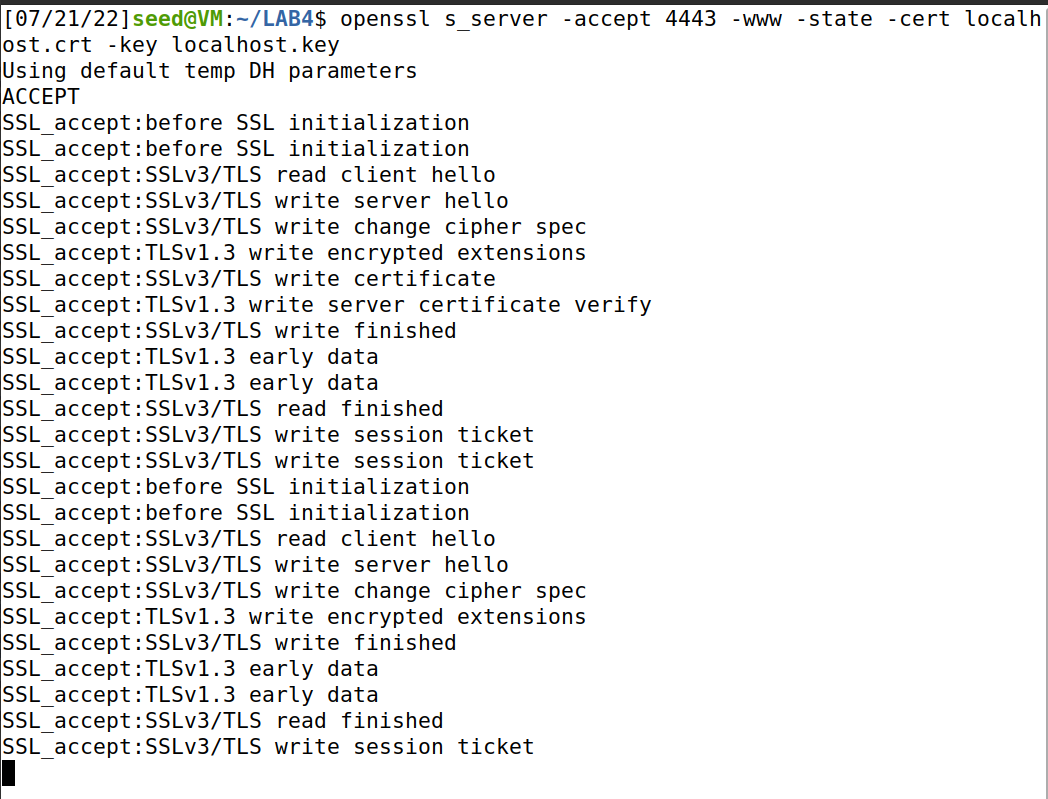
Why is the webserver using both the certificate and private key? (What does it use each for?)
In most protocols, client and server indicate that both parties want to establish an encrypted session.
1. The server transmits the digital certificate to the client. The certificate contains the public key of the server. The client uses the public key to parse the digital signature in the certificate, which can verify the identity of the server.
2. The client generates a symmetric encryption key for encrypted transmission of actual data, encrypts it with the server's public key, and transmits the generated key to the server. Also carry a "client finished" encrypted with the encryption key just generated.
3. The server receives the symmetric encryption key and tries to decrypt the encrypted field with the key. If the plaintext "client finished" can be obtained, the key is considered valid and can be used for subsequent data encryption transmission. At the same time, "server finished" is encrypted with this key and passed to the client.
4. The client decrypts with the symmetric secret key. If the plaintext "server finished" can be obtained, the client believes that the server has correctly received the symmetric key.
Using both certificates and private keys at the same time can greatly improve security and prevent data from being decrypted during transmission
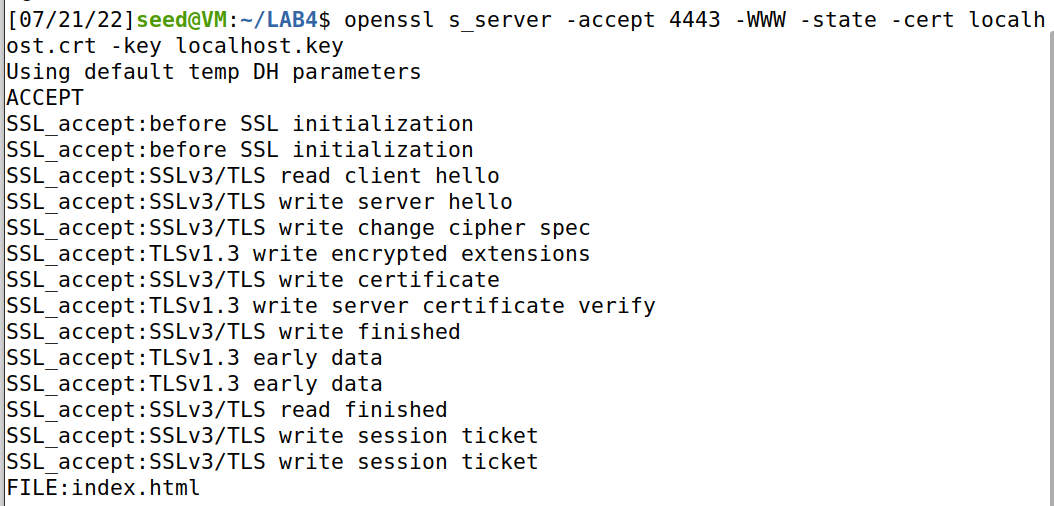
The specific running example is as follows:
LAB 4-2 SEED Buffer-Overflow Vulnerability Lab
typing make in terminal,then Two binaries will be created, a32.out (32-bit) and a64.out (64-bit).Run them and we observe that we get the root shell.
Since the compilation and setup commands are already included in Makefile,we just need to type make to execute those commands.
Our purpose is to implement malicious code by exploiting buffer overflows and eventually gain root privileges.
We can see that in the exploit.py file, we need to fill in several parts, namely shellcode, start, ret and offset.
First, we fill in the 32-bit corresponding malicious code to obtain root shell.
Then we analyze the stack frame structure in the function bof:
We consider putting shellcode at the end of badfile, so “start = 517-len(shellcode)”
After that we need to determine the position of ret in badfile, that is offset. We consider offset = ebp - &buffer + 4 , so the first step is to determine the values of ebp and &buffer.
We print out the ebp value and the buffer’s address through the gdb debugging tool.
According to the note1 in the task book,we need to use next to execute a few instructions and stop after the ebp register is modified to point to the stack frame of the bof() function.
buff = 0xffffca7c
ebp = 0xffffcae8
The value of ret (return address) should jump after new ret and before shellcode. This ensures that the shellcode is executed.
so ret = ebp + n(n>=8)
But I found that when n=8, the program reported an error:segmentation fault.
According to the note2 in the task book,the real stack frame value is larger than the value of the gdb runtime,so we should add an offset.
After many attempts, I found that offsets between 200-300 can get a root shell.
Now let’s check it!
OK!I obtain the root shell!
LAB 4-3 SEED Return-to-libc Attack lab
We used the p command to print the addresses of system() and exit() functions.
As follow:
I uesd the method inntask 2 to put the shell string in the memory.
First define a new shell variable MYSHELL = /bin/sh,then I will use the addresses of this variable as an argument to system() call.
Following the code in task3.2, we could compile the code and print the addresses of MYSHELL.
According to the above two tasks,we get thses informations:
0xf7e12420
0xf7e04f80
0xffffd3f6 bin/sh
So it is natural to fill them in the corresponding address.
After we should consider the stack frame structure to figure out X,Y and Z.
I think the stack frame as this:
Since we are going to excute the function system(),the return address should be loaded the system_addr.
So Y should be the relative offset of ret,Y = ebp - buff + 4.
And then, considering the addresses of the variable MYSHELL as an argument to system() call,I put it behind the system().
So X = ebp - buff + 8
Then execute function exit(),I put it behind MYSHELL.
So Z = ebp - buff + 12
Let’s try to run

Opps maybe something wrong.We check it.I think the system_addr won’t be wrong,that’s the start of the execution programm.
So maybe X or Z is wrong.At present I have no idea,so we could try to change X and Z.
I first tried swapping the values of X and Z, after that I ran the program.Then it works!

It’s amazing,I wonder how.After I search on Internet about the stack frame structure,then I find this:
So the position “ebp - buff + 8” to be filled in is the return address of the system.
The return address of system is followed by the parameters,and MYSHELL is passed as a parameter to system.
I think it’s not really necessary.
Actually, I found that whether it is to remove the exit, or to change the position of the exit, such as making Z = ebp - buff + 4 or Z = ebp - buff + 16,
can successfully obtain root privileges.
My idea is that the main function of this experiment is to pass MYSHELL as a parameter and run the system function at the same time.
This has little to do with exit. As long as the previous steps are successfully executed, root privileges can be obtained.
Even if I remove exit, it still gets root shell and exits successfully, this is what I have observed.
According to the paper,the function exit() seems to help the shellcode to quit without a trace,but I could not find somewhere different with the previous.
After rename the file name , my attack failed.
In fact, when the program is executed, the name of the program is passed on the stack first,
and then the other variables in the program are passed on the stack. So when we only change the length of the program name,
the addresses of the other environment variables will be extended backwards,and our badfile isn’t changeg, which will cause us to be unable to access the correct environment variables
, so the attack fails.